
What Are You Looking For?
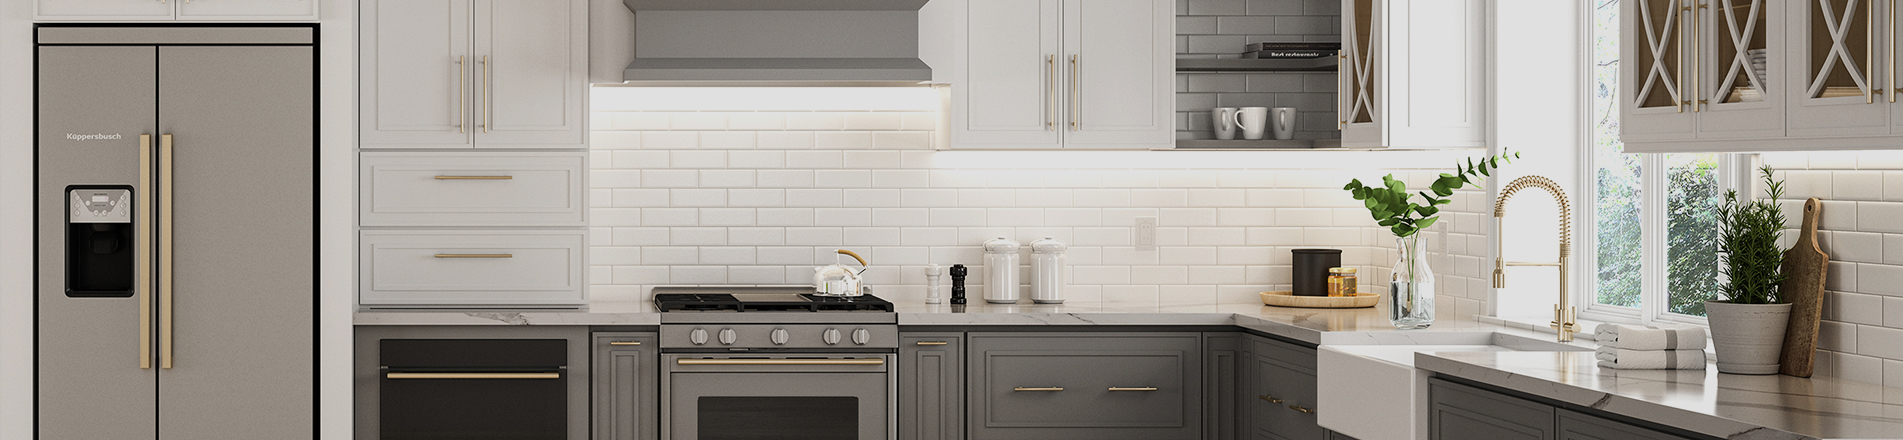
Yes, absolutely. Most kitchen islands today, including many high-end custom ones, are built on standard base cabinets. They are secured to the floor, finished with end panels on all exposed sides, and topped with countertop material. Building an island from base cabinets is a cost-effective, well-sized solution that delivers storage and prep space, and can also incorporate bar seating.
That said, installation differs from wall-mounted base cabinets. Being usable does not mean you can simply set them in place and finish. An island stands independently and carries its own load. Countertops cannot have large unsupported overhangs. All visible sides require finished surfaces, clear aisle space must be planned, and bar overhangs need extra reinforcement. Using standard base cabinets for an island works well if you follow these critical guidelines for safety and appearance.
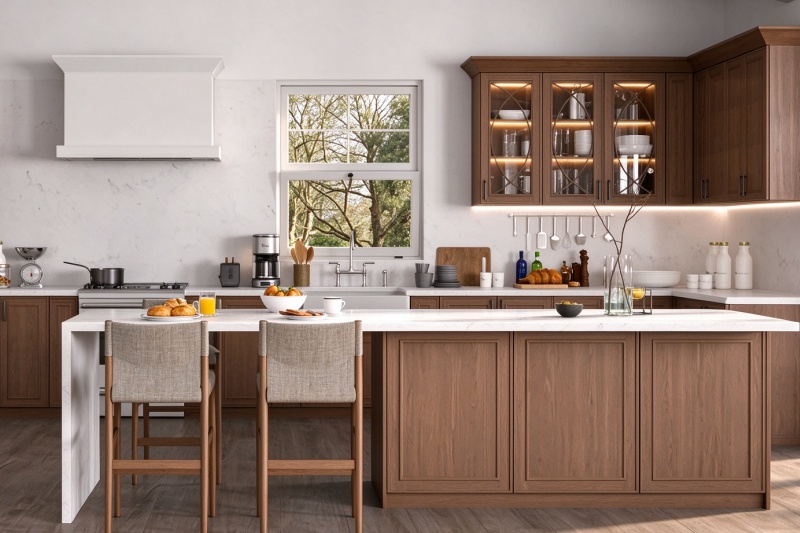
Difference Between Wall Base Cabinets and Island Base Cabinets
Standard base cabinets are designed to sit against a wall. Only the front face needs a finished look; the back is usually fitted with a thin simple back panel or left open since the wall covers it. An island sits free-standing in the center of the kitchen, with all sides potentially exposed, and carries all loads on its own.
| Comparison Item | Wall Base Cabinets | Island Built from Base Cabinets |
| Load & Stability | Fastened to wall studs or adjacent cabinets; the wall helps resist shifting and warping | Free-standing floor unit; must be leveled, squared, and anchored to the subfloor. Stone countertops and bar overhangs require extra bracing to prevent wobbling |
| Side Finishing | Backs and sides hidden by walls or neighboring cabinets do not need finished surfaces | All exposed ends, back panels and visible sides require matching finished panels, veneer or skin panels to cover raw particleboard / plywood edges |
| Countertop Overhang | Countertop sits tight against the wall with minimal front overhang | Bar overhang on one side can extend 10–15 inches, requiring brackets, corbels or support framing to prevent sagging and cracking |
| Clearance Planning | Aisles only account for door and appliance swing | Walkway space required on all sides; drawers and cabinet doors must clear appliances and bar stools when opened |
| Plumbing & Electrical | Outlets, water lines and gas can be routed behind the wall | Sinks, cooktops and outlets must be routed inside the cabinet box in advance, with access for service and ventilation |
| Toe Kick | Continuous toe kick along the front against the wall | Wrap-around toe kick on all sides, or a plinth base for furniture-style aesthetics |
Advantages of Building an Island with Base Cabinets
1. Significant Cost Savings
This is the biggest benefit. Purpose-built island cabinets carry a custom premium. Standard base cabinets are mass-produced, widely available, and RTA options are an excellent fit. They are ideal for renovation projects and budget-conscious commercial jobs as an affordable alternative to fully custom cabinetry. RTA base cabinets ship compactly and cut freight costs compared to preassembled island units.
2. Flexible Layout
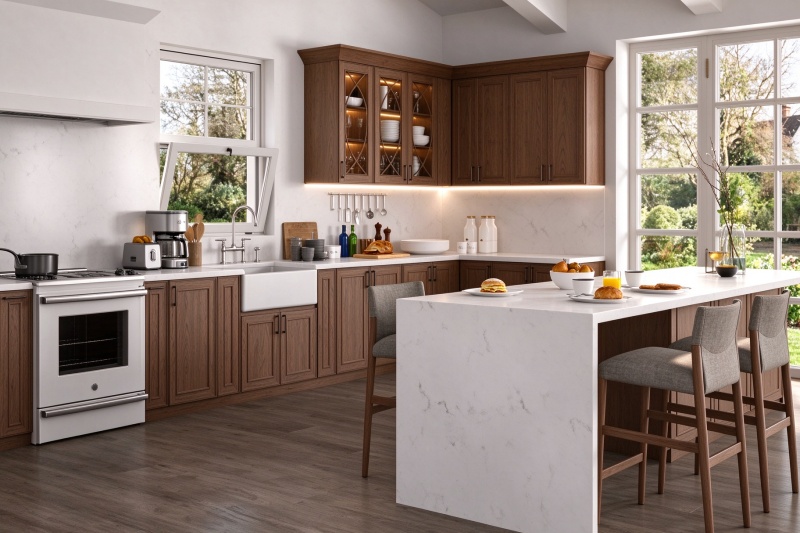
Base cabinets come in standard widths: 12/15/18/21/24/27/30/33/36/42 inches. You can mix single-door, double-door, drawer, sink, trash pull-out and specialty cabinets to reach your desired island length. Need a 72-inch island? Combine one 36-inch drawer base and one 36-inch door base. Dishwasher and wine rack bases can also be integrated. Modular storage configurations are versatile: baking drawers, utensil pull-outs and appliance garages are all achievable. Two-tone kitchen designs work perfectly here, with perimeter cabinets in one finish and the island in a contrasting shade.
3. Familiar Installation for Trades
Installers already know how to level, shim, fasten and join base cabinets. Wall cabinet installation skills transfer directly, so no specialized labor is required.
4. Consistent Style With Your Existing Kitchen
If you are adding a new island to an existing kitchen, purchasing base cabinets from the same collection ensures matching door profiles, paint finishes, wood grain and hardware. You avoid the hassle of sourcing a standalone island that is difficult to match in color, sheen and texture. This approach also works perfectly for mixed-color wood kitchen cabinets with two tones: use one finish for the perimeter cabinetry and a contrasting shade for the island.
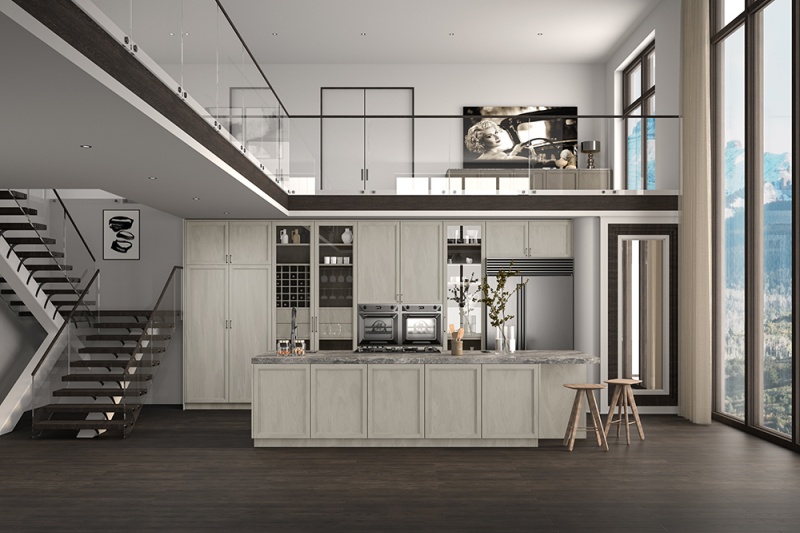
Limitations & Risks of Converting Wall Base Cabinets into an Island
Many DIY builds fail here. Standard base cabinets are engineered to anchor against a wall, not to stand free with overhanging stone. Converting them without upgrades creates these hazards:
1. Unfinished thin back and side panels
Standard base cabinets often have thin back panels or no back panel at all. When placed in the center of the kitchen facing a dining or living area, the raw unfinished rear is visible. Thin backs have low rigidity and can warp, split or detach when bumped by stools or leaned on.
2. No anti-tip anchoring
Wall cabinets are secured to wall studs. An island has no wall behind it. Heavy countertops like quartz and granite create leverage at overhangs. Without secure fastening to the floor, the island can tip forward when someone leans or sits at the bar edge — a major risk for households with children.
3. Drawers and doors colliding with bar seating
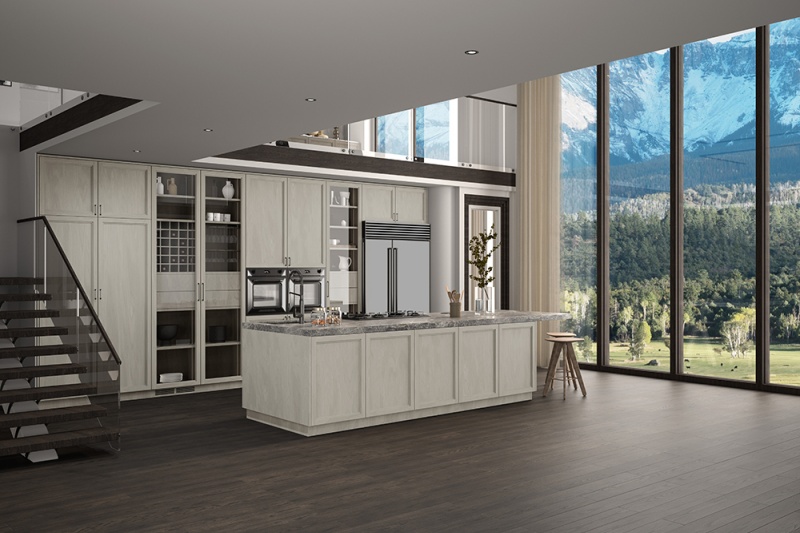
This is an extremely common mistake. Drawers or cabinet doors on the bar side will hit knees when opened unless swing direction faces away from seating. When seating is planned, replace that section with a knee panel or cut a knee recess. Industry standard: allow a minimum 18-inch knee depth set back from the front edge.
4. Limited overhang support
The cabinet frame is only designed to support countertop directly above the box. Overhang extending past the cabinet front needs independent support. Any overhang longer than 12 inches must be reinforced with brackets, decorative corbels, hidden steel framing or a low support wall. Stone fabricators will often withhold material warranty if proper support is missing.
5. Cutouts for utilities weaken the cabinet
If your island includes a sink, beverage cooler or outlets, standard base cabinets have no pre-routed chases. You will need to drill through the bottom, toe kick or back panel for PEX water lines, drain lines and wiring conduits. These cutouts reduce structural strength and need local reinforcement.
6. Exposed toe kick on multiple sides
Wall base cabinets only show toe kick along the front. As an island, all exposed sides require matching toe kick pieces.
Step-by-Step Planning & Installation Sequence
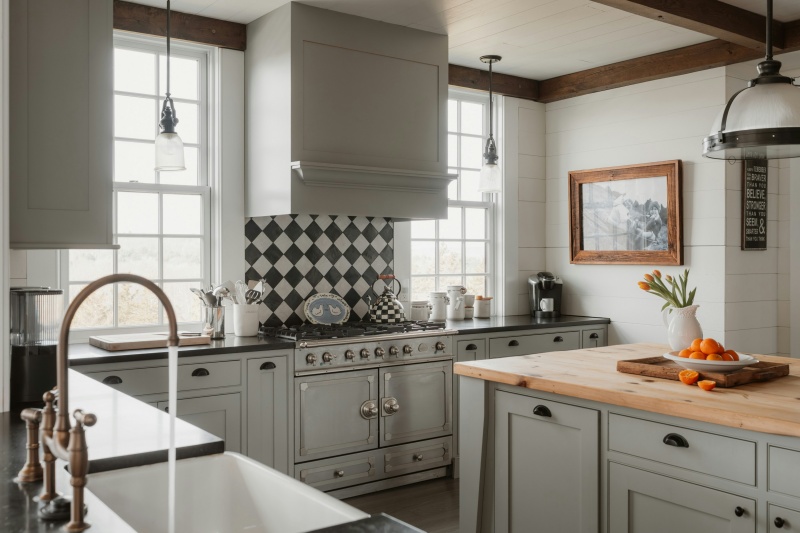
Follow this order to prevent rework: plan traffic flow first, select cabinet modules, add bracing and finished panels, then install countertop.
1. Measure the space and map traffic paths: mark cabinet depth, appliance swing, aisle clearances and the island footprint.
2. Define island function: storage-only, prep station, bar, sink island, cooking island or mixed-use, to confirm depth, rough-ins and overhang requirements.
3. Select cabinet modules: mix door, drawer, sink, cooktop and accessory bases, calculate total length and account for finished panel dimensions.
4. Choose depth configuration: single row, single row plus rear framing, 24+12 combination, or back-to-back double cabinet run.
5. Finalize countertop and overhang details: send dimensions, stone thickness and bar overhang specs to your stone supplier and confirm support structure before ordering.
6. Rough-in plumbing and electrical if possible before cabinet placement.
7. Assemble and reinforce cabinets: level, fasten cabinets together, add back panel bracing and anchor to the floor.
8. Install finished end panels, toe kick or decorative base plinth.
9. Mount countertop per fabricator specs and attach required support brackets.
10. Final inspection: test drawer and door operation, check stool clearance, test water and power, verify seams and flatness.
Material Selection Guidance
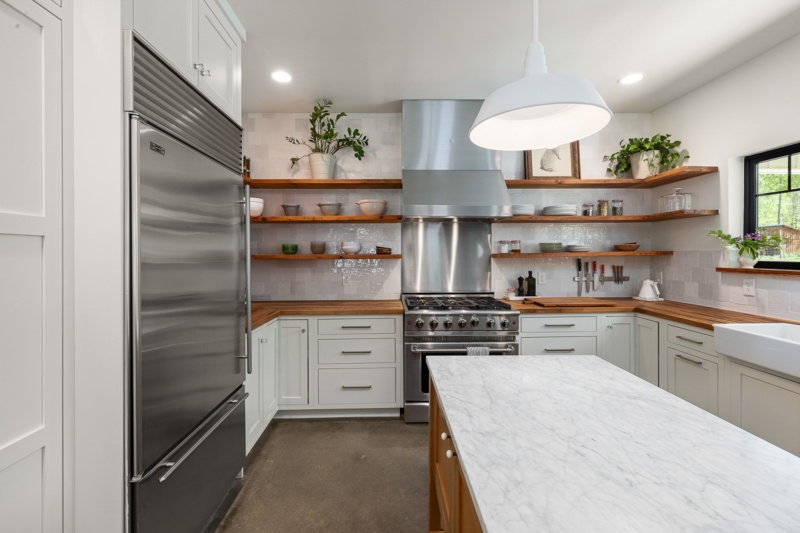
Islands see more impact, shifting loads and moisture exposure than perimeter wall cabinets, so material selection matters more.
| Panel Material | Suitability for Islands | Notes |
| Plywood | Highly Recommended | Stable, excellent screw holding power; moisture-resistant grades available. Preferred for high-humidity coastal regions |
| Solid Wood (Oak, Rubberwood) | Highly Recommended | Premium appearance and strength; requires full sealing. Minor movement can occur with humidity swings |
| MDF | Fair | Smooth paint finish, lower cost; moisture-sensitive, avoid directly under sinks |
| Particleboard / Melamine / Thermofoil | Suitable for dry areas | Standard budget option for RTA cabinets. Prioritize CARB P2 / E0 rated boards and avoid prolonged wet exposure |
High-quality plywood is strongly recommended for sink base cabinets in islands. Particleboard swells and fails quickly if water penetrates, and replacing an island cabinet is far more disruptive than replacing a wall cabinet.
Summary
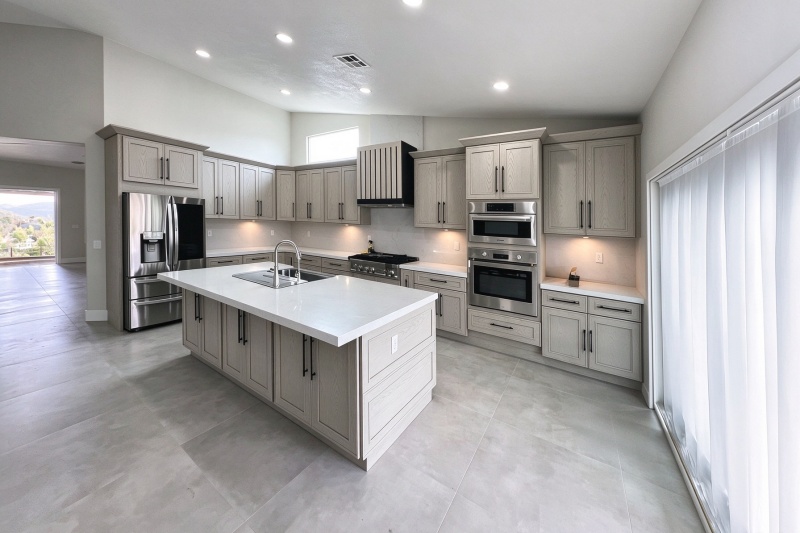
Standard base cabinets are a proven, practical solution for kitchen islands, widely used in residential remodels, rental projects and budget commercial builds. The cabinet boxes themselves work well, but you must add finished panels, interlock and anchor the assembly to the floor, and carefully plan seating and overhangs.
With proper skin panels, overhang bracing and anti-tip fastening, an island built from base cabinets is visually indistinguishable from a purpose-built custom island. Skip these critical steps, and your cost savings turn into wobble and safety hazards. For homeowners and trade professionals alike, modular base cabinets offer great flexibility to build an island matched to your layout, storage needs, style and budget.


 Newsletter
 Español

 IPv6 network supported